Monday, February 25, 2013

Lavender Biscotti with Dried Cherries and Pistachios

Lavender: isn't it lovely? I've wanted to bake with it again but last time I stopped at a farmer's market to pick some baking lavender up they were all out. Then I forgot about it until last week when I passed by a lavender stand in Union Square. I happily whipped up this recipe which I had waiting patiently in the wings (aka my "to make" folder.)
 
It was worth the wait. The slight hint of lavender mixed with lemon zest, dried cherries, and pistachios is a perfect combination.  

Lavender Biscotti with Dried Cherries and Pistachios (adapted from u Try.it)
2 cups all-purpose flour
1 1/2 teaspoons baking powder
3/4 cup sugar
4 ounces (1 stick) unsalted butter, room temperature
1 tablespoon dried lavender
Zest of 1/2 a lemon, grated
1/4 teaspoon salt
2 large eggs
3/4 cup pistachios, coarsely chopped
3/4 cup dried cherries

Preheat the oven to 350 degrees F. Line a large baking sheet with parchment paper or silpat, set aside.

In a medium bowl, whisk the flour and baking powder together. In the bowl of a stand mixer with paddle attachment on medium speed, cream the sugar, butter, lavender, lemon zest, and salt until light and fluffy. Beat in the eggs, 1 at a time. Turn mixer to low, add the flour mixture slowly until just combined. Fold in the pistachios and cherries with a rubber spatula.

Slightly flour both hands and transfer the dough onto the prepared baking sheet. Form the dough into a log. Approximately 14-inch in length and 3-inch in width. Bake for 35 minutes or until light golden on the edges. Let it cool on a wiring rack for 30 minutes.

Transfer the log onto the cutting board. With a sharp serrated knife, cut the log on a diagonal into 1/2-inch thick slices. Return biscotti to the same baking sheet, arrange the biscotti cut side down. Bake the biscotti for another 15 minutes or until they are pale golden. Transfer the biscotti to a wiring rack and let them cool completely.
Bake well and prosper! 

Tuesday, February 19, 2013

Raw Almond Joy Macaroons

I suppose I can add this recipe to my New Year's resolution: try new methods of baking/making dessert. The thing is, I'm very familiar with the raw foods lifestyle. In fact, and this might come as a shock to you, I eat a raw foods diet a lot.
 
Are you back on your chair yet?
 
I know. It's a little alarming. Someone with a baking blog who eats raw?!
 
Well, it's true!
 
And I am happy to say that I finally made a raw dessert!
Usually I buy raw desserts to consume. Then I saw a recipe for one that didn't require a dehydrator!
 
I found some cacao nibs and some dates and made these yummy treats. Try it for yourself or make it for your raw foodie friend or a celiac friend since they are also gluten free.
Raw Almond Joy Macaroons (adapted from Oh Ladycakes)
1 cup shredded coconut (sweetened or un)
3/4 cup raw almonds
Pinch of salt
8 pitted medjool dates
3 tbsp raw almond milk (or water) (Erika's Extras: I used water)
1/4 cup cacao nibs
1+ Tablespoon of agave nectar

Blend the coconut, 1/2 cup of the almonds, and salt in a food processor. Blend until conformed into a thin constitency/dough. Add the dates and blend until combinded. Add the water or almond milk and continue to blend in or stir in with a spoon when transfer the mixture to a bowl. Stir in the cocoa nibs. Coarsely chop the remaining almonds and add them into the mixture along witht he agave nectar. Grab a little less than a tablespoon of the dough and roll into a ball. Drop the dough onto a baking sheet lined with parchment paper. After 30 minutes in the freezer they are ready to eat. Keep stored in a container in the freezer until they're all gone (which shouldn't be more than 3 days since they're so good!)
 
Erika's Extras: Feel free to reduce the recipe. Easy to do when there's no eggs involved.
Bake well and prosper!

Thursday, February 14, 2013

Orange-Cardamom Sugar Cookies for my Valentines

My Valentine today is my running group. At least that's the lucky group of people that I'm sharing my evening and my baked goods with. Since it's Valentine's Day, that makes my running group my Valentine, right?
 
Either way, they are a deserving group of kind, goofy, supportive, and fun people. And they won't mind wolfing down these lovely, aromatic cookies after burning off 600+ calories. Man, they make good Valentines!
 
Who is your Valentine this year?

Orange-Cardamom Sugar Cookies (adapted from One Perfect Bite)
Ingredients:
2 cups all-purpose flour
1/2 teaspoon baking powder
1/4 teaspoon salt
1 teaspoon ground cardamom
2 sticks unsalted butter, room temperature
1 cup light brown sugar
1/2 cup granulated sugar
1 large egg, room temperature
1 yolk of large egg, room temperature
1 teaspoon vanilla extract
zest of one medium orange

Directions:
1) Whisk together flour, baking powder, salt and cardamom and set aside.
2) In a stand mixer fitted with a paddle attachment, mix butter and sugar together till just combined. Add egg and egg yolk; mix lightly to combine. Mix in vanilla extract and orange zest.
3) Add dry ingredients a little at a time, mixing just until combined, about 30-45 seconds. Chill dough until it can be shaped, about 30 minutes.
4) Scoop dough with a tablespoon and roll into balls. Place evenly on cookie sheets (with or without parchment paper) and flatten slightly with back of a spatula. (If dough is still very soft, it may be easier to do this after dough is chilled.)
5) Place cookie sheets in refrigerator and chill dough for 30 minutes. Meanwhile, preheat oven to 375 degrees F. If you're baking one sheet at a time, place oven rack in center of oven. If you want to bake two sheets at one time, place racks so that oven is divided into thirds. Bake for 5 minutes. Reverse cookie sheets front to back (and switch shelves if you're using 2 shelves). Bake for 5-7 more minutes until cookies are brown on edges and still soft in the center. Place cookie sheet(s) on wire rack for 5 minutes. Remove cookies with spatula and place them on wire racks to cool completely. Yield: 30 cookies.
Erika's Extras: The photo from One Perfect Bite showed thin cookies. Mine never thinned out. The cake like cookie was delicious and maybe a result of leaving the dough in the fridge over night...
Bake well and prosper!

Monday, February 11, 2013

Heart Shaped Italian Macarons

Ever since making my first batch of macarons last month I wanted to try a different macaron recipe/technique AND attempt to make them heart shaped. Well, I did and they were a success! How cute are these heart shaped treats? Is there any way to make them cuter?
Yep! Add some pink poodles into the shot.  My room mate figured that would be cute/funny and he was right!

Then I wondered if there was any way to make these even more adorable.
Yep! Drawing Valentine's messages on them with edible marker fit the bill nicely. How cute are they? My room mate exclaimed that they looked like Sweethearts and I had to agree. 
Not into the normal Valentine's Day messages? Don't worry. I have that covered too. Here's some updated messages that I felt were very "of the times" for today's society...and also made me giggle.
Still not into Valentine's Day/love? Been burnt too many times in the past? Don't worry. I have you covered as well.
There was one broken heart out of the 80+ I made.

I am glad to say that the folks eating these enjoyed the messages AND the yummy tastes of these macarons. I used an Italian technique (which incorporates hot sugar water which helps to make the tops shiny.) I really enjoyed this recipe and plan to keep it as my go to macaron recipe.

Happy Valentine's Day!
Love,
Available and Slightly Low Maintenance.
Italian Macarons (from Good Food)
Ingredients
200g almond meal, laid out on tray to dry for 2 days (Erika's Extras: I laid the almond meal out for only overnight and it worked fine)
200g pure icing sugar, sieved
150g egg whites (from 3 to 4 large eggs), sieved and allowed to stand at room temperature overnight
1/4 tsp cream of tartar
1g dry egg-white powder (optional)
200g white sugar
50g water
Few drops food colouring (Erika's Extras: I put in extra food coloring since the color of my last macarons faded while baking.)


Method
Preheat oven to 150C (around 300F). Place almond meal and icing sugar in a food processor and pulse to get a finer consistency. Sieve through a drum sieve into a large mixing bowl. Divide egg whites in two batches, each 75 grams. Place one batch of egg whites in an electric mixer fitted with a whisk attachment, add cream of tartar and egg white powder and set aside.
Mix the remaining egg whites into almond mix to make a thick paste, then set aside. Put sugar and water in a saucepan on medium heat, stir to make sugar syrup. Insert thermometer. When thermometer reaches 110C, start whisking egg whites on low speed. Gradually increase the speed until the egg whites are thick. If the sugar syrup gets too hot before the egg whites are ready, add three teaspoons of cold water to syrup to reduce the temperature. When sugar syrup reaches 118C and the egg whites are ready, slowly pour syrup down the side of the mixer while whisking the egg whites on medium speed. Continue to mix for about 10 minutes until the meringue cools (the bowl should still feel slightly warm).
Add food colouring. Using a pastry scraper, mix the meringue into the almond meal paste — no need to be gentle. Keep mixing until the paste is supple and shiny.
Shiny!
It is important to have the correct consistency. The mixture should be oozy and lava-like. When you fold the mixture over itself, it will spread slowly. Using a pastry bag fitted with a one-centimetre plain nozzle, pipe mixture on to a lined double baking tray. Using two trays ensures even heat distribution. You can use baking paper to line the trays but I have found a silicone baking mat gives the best result. (Erika's Extras: I used parchment paper and it worked fine. I also only had one tray in the oven at a time which was fine as well.)
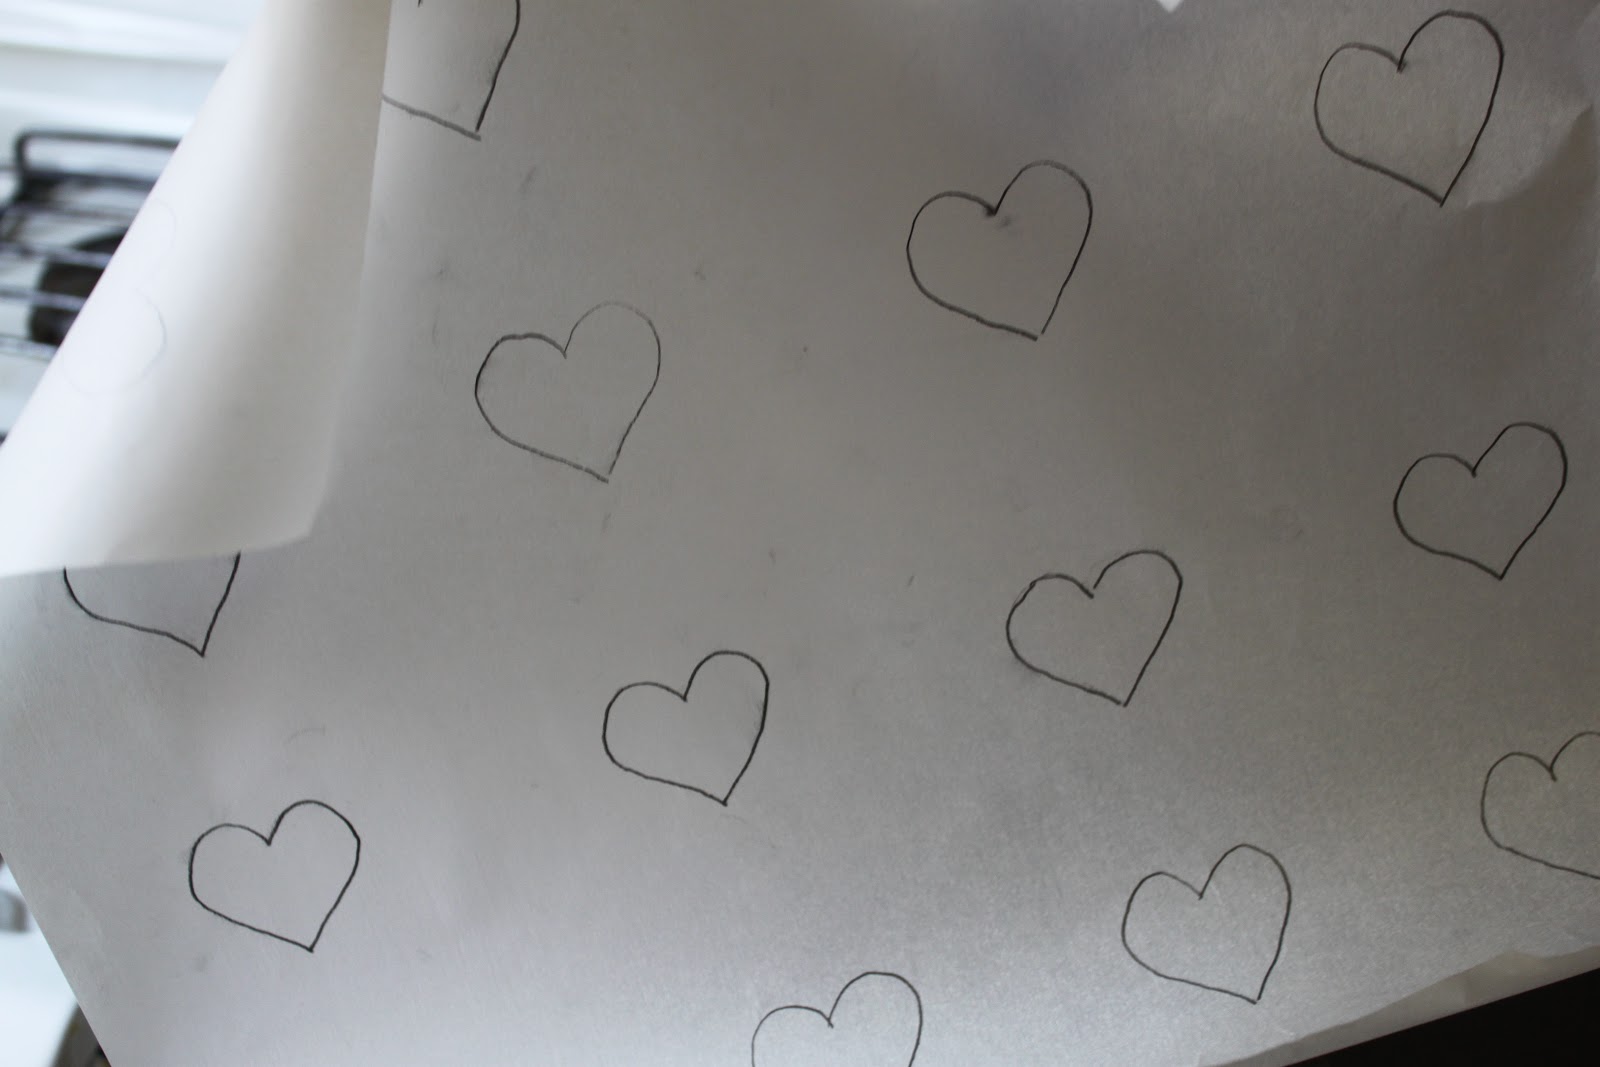
For a guideline to making heart shapes, I traced a heart on one side of the parchment paper. With the pencil side down, I piped the hearts on the other side of the paper.
Rap the baking tray on the bench firmly a couple of times to get rid of any large air bubbles, settle the shape of the macaron and help make the pied or "foot". Bake for about 16 minutes-18 minutes. (Erika's Extras: I kept the oven door slightly ajar when baking. The other macaron recipe I made said to do that and I think it helps an even baking.)
 
Check the macarons are dry by testing whether the top and the pied are firm (if the top is soft and the sides are moist, leave them a few more minutes). (Erika's Extras: I checked if the pied/bottom was firm by seeing if the macaron easily peeled from the parchment paper. If not, place back in oven.)Remove from oven and cool on baking trays, then remove and place on wire racks. When cool, sandwich with filling (see below). Refrigerate overnight for the correct soft macaron texture. They can be frozen for up to six weeks.Makes 85-90 (42-45 filled macarons)
 
Erika's Extras: I used this Martha Stewart recipe for the filling. I added honey to half and raspberry jam to the other half. While the filling was nice, I wasn't a huge fan of the flavor/consistency. I would suggest searching for a different recipe.
 
Bake well and prosper!

Thursday, February 7, 2013

Orange, Walnut, and Rosemary Muffins

Are you currently living in a winter wonderland? Feeling snowed in? Blue? Well, try these muffins for a nice pick-me-up! The combination of orange and rosemary will have your senses perked up in no time!
I used to think oranges were a summer fruit since they are so sunny and happy. It was a little shocking to find out they are best in winter (at least here in North America.)

I love what Eat the Seasons says about oranges: "Oranges provide seasonal eaters with a taste of sun in the middle of winter. [They are] fabulous [in] desserts where they form a heavenly match with chocolate."
 
Amen.
Orange, Walnut, and Rosemary Muffins (adapted from The Kitchen Prep)
2 cups all-purpose flour
1 tablespoon baking powder
1/2 teaspoon baking soda
1/8 teaspoon salt
1/2 cup granulated sugar (Erika's Extras - I used organic sugar. Worked well.)
1/2 cup walnuts, chopped
2 eggs
1 cup plain Greek yogurt
6 tablespoons canola oil (Erika's Extras - I used grape seed oil bc I didn't have canola. Worked fine but I think I would have preferred canola.)
Zest of 2 oranges - save 1 teaspoon for icing
1 tablespoon fresh rosemary, finely chopped, plus extra for garnish

For Icing:
1 1/2 cups powdered sugar
1 teaspoon orange zest
3-4 teaspoons freshly squeeze orange juice (Erika's Extras: Used the oranges you just zested.)

1. Preheat oven to 400 degrees. Prepare a muffin tin with paper liners.
2. In a medium bowl, combine flour, baking powder, baking soda, salt, sugar, and walnuts.
3. In a small bowl, whisk together eggs, yogurt, oil, orange zest, and chopped rosemary.
4. Pour wet mixture into dry mixture and mix until just combined. Do not over mix, there will still be some small lumps. If your mixture looks a bit dry, add 1 tablespoon at a time of milk or almond milk until moistened.
5. Using an ice cream scoop, scoop batter into liners. Bake for 16-18 minutes until tops are slightly golden and firm and a toothpick inserted in the center comes out clean.
6. Cool on a baking rack for about 30 minutes or until completely cooled. Spoon icing over top and decorate with a small sprig of rosemary.

Icing:
1. Sift powdered sugar into a small bowl.
2. Add zest and juice and whisk until smooth.
3. Drizzle or spoon over muffins.
4. Add a sprig of rosemary on top of the icing of each muffin.
Bake well and prosper!

Tuesday, February 5, 2013

Potpourri: Broccoli Peanut Salad

This is my "go to" salad for different types of "bring a dish" gatherings. Every time I make it people go crazy over it!
It's a great salad. Salty. Sweet. Healthy. Bacon. I grew up with it so I guess I never realized what a winner it was until people who had never had it before sang its praises.
 
I've been promising to post the recipe for awhile now. I will finally fulfill that promise with this post. Whew!
 
So now you, too, can make an awesome salad to empress people at your next potluck gathering!
Broccoli Peanut Salad (from my Mom's Best Recipes Cookbook)
1 bunch of broccoli, washed and cut into small chunks
3/4 C raisins
1 C (or less) unsalted peanuts
3 strips of bacon, fried crisp and broken

Dressing:
1/4 C sugar
1 T vinegar
1/2 C mayonnaise
2 t chopped onion
(Mix all of these in a separate bowl and then stir in to the salad.)
Bake well and prosper!