Wednesday, March 28, 2012

Mini Chocolate Chip Cookies

Mini is always cute, right? Mini cupcakes, mini brownies, Minnie-Mouse... Well, I had some mini chocolate chips so I figured it was time for me to make mini cookies.
Since the weather had been so nice in NYC (HAD seeing that it's cold again), I decided to make these small cookies. I figured they would be an easy treat to throw in my bag and go.
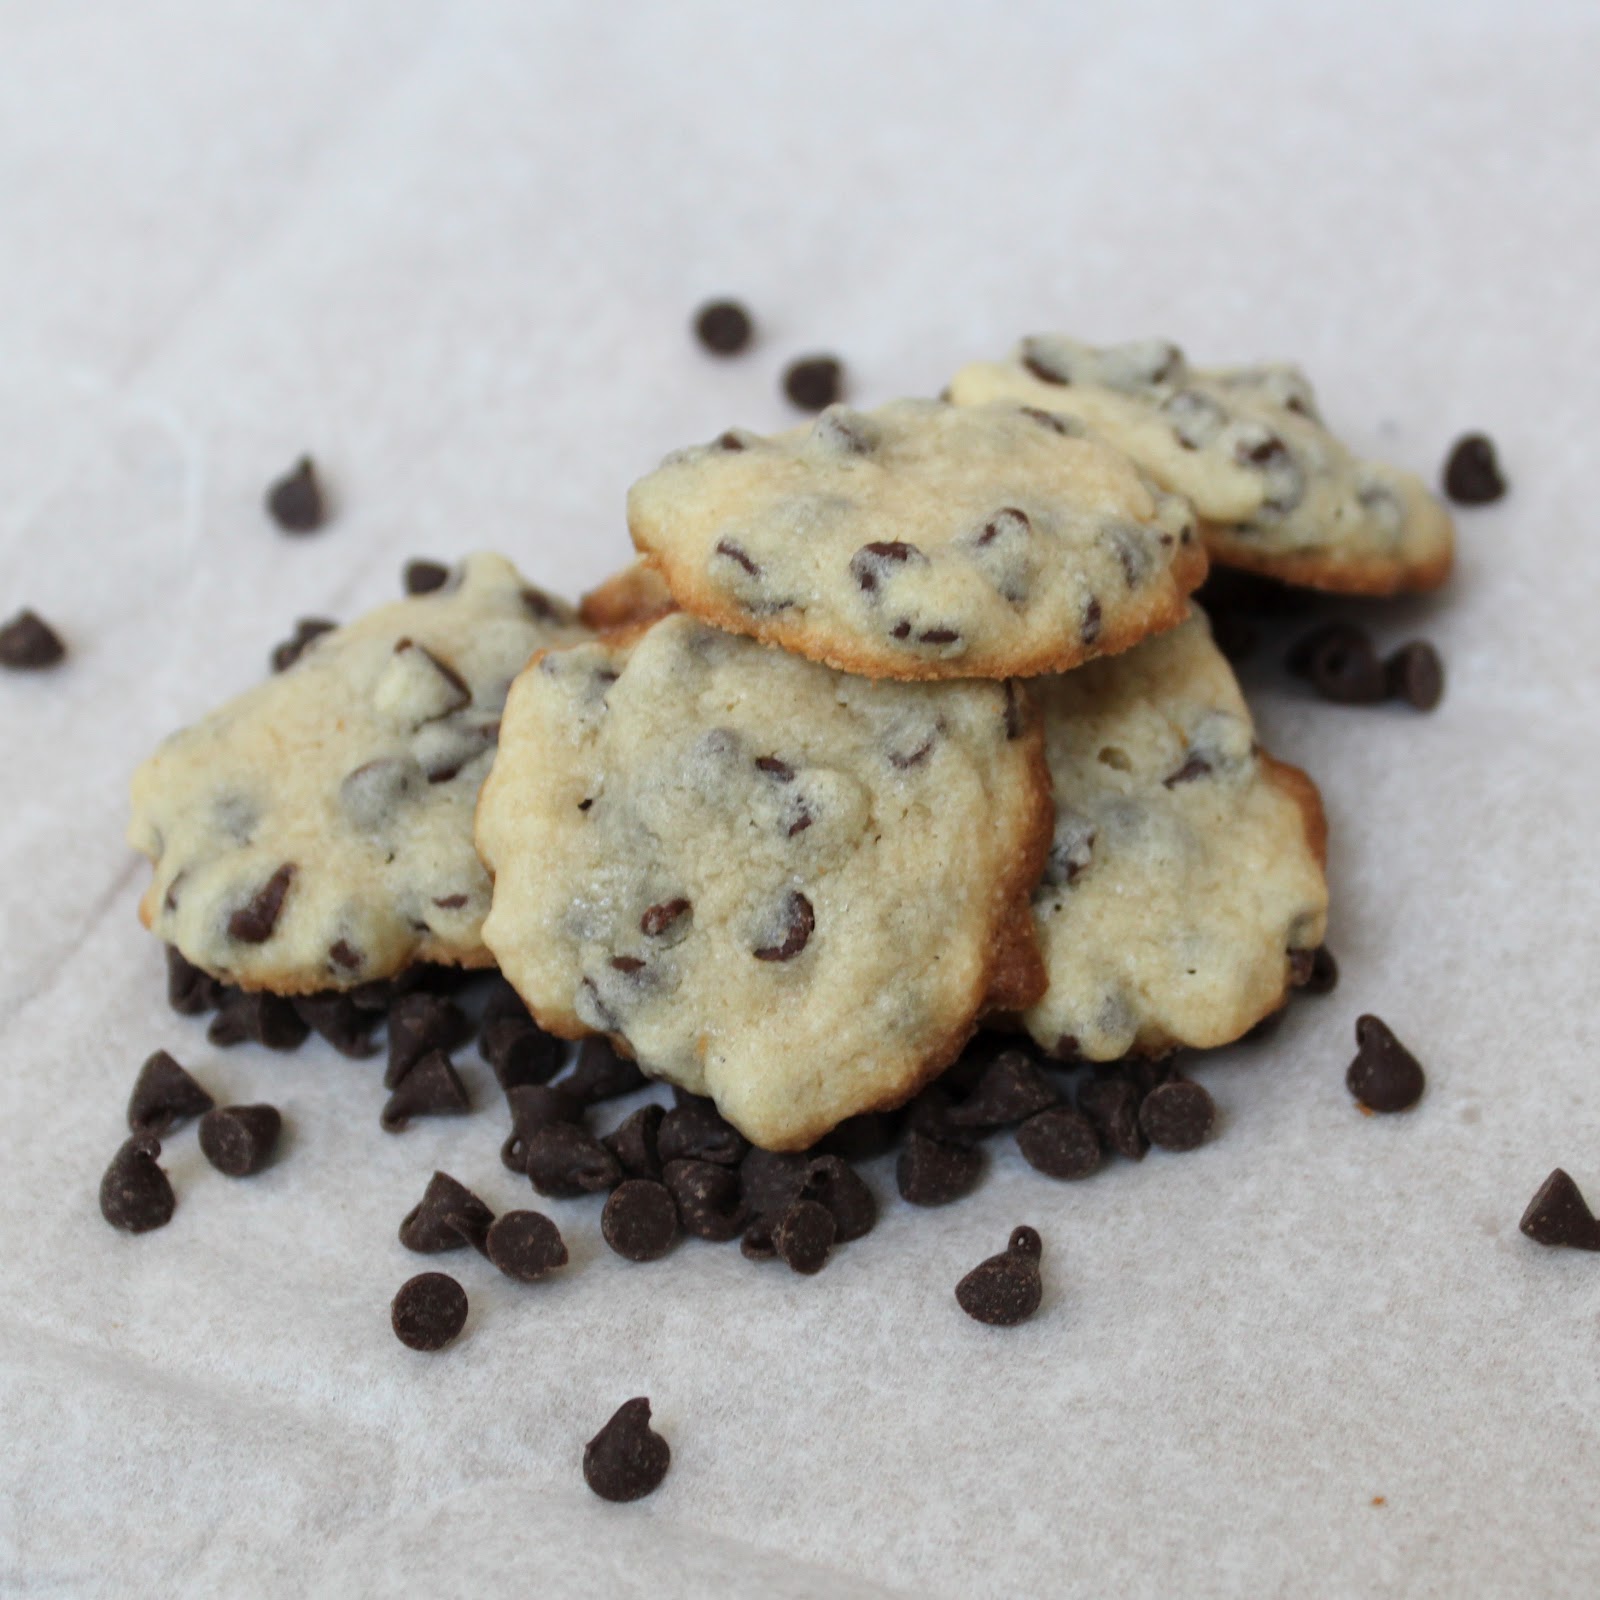
See how small and cute they are? I used my normal chocolate chip cookie recipe. It's my favorite. I am addicted to it. So, I greatly enjoyed popping these in my mouth throughout the next couple of days (you know...when the weather was warm.)


Chocolate Chip Cookies (adapted from my Mom's Best Recipes Cook Book)
1 stick of margarine/butter (I find that margarine will make them softer. Yum!)
1/2 cup of white sugar
1/4 cup of brown sugar
1 egg well beaten
1 cup and 2 Tablespoons of flour
1/2 teaspoon of baking soda
1/2 teaspoon of salt
1/2 teaspoon of vanilla (use the real thing....imitation vanilla is a poser!)
1/4 teaspoon of warm water (DO IT! TRUST ME!)
6 oz of mini semi sweet chocolate chip morsels

Preheat oven to 375 degrees. Mix margarine, sugars, and egg together until margarine chunks are quite small and well beaten. Sift flour, baking soda, and salt together and then stir until well mixed. Add vanilla and then mix. Water and then mix. And then add in the chocolate chips last. Place dollops of dough on cookie sheet with plenty of room between each dollop. Bake 8-10 minutes.

Erika's Extra Notes: To get very lovely and soft cookies, take out of oven when they are still fluffy/slightly uncooked looking. They will cook more while cooling. If baking two sheets at once, make sure to switch the top to the bottom and vice-versa half way through baking.
Bake well and prosper!

Monday, March 19, 2012

Nutella French Toast

Last week I was eating strawberries and came across this beautiful heart shaped one:
I quickly took a photo and then popped it in my mouth. It was really good (for being a strawberry in winter.)

That pretty strawberry inspired me to make my next baking project a strawberry one. In my "recipes to make" email folder, I found a recipe for Nutella French Toast that called for strawberries as a garnish. I was sold and promptly went to the grocery store to buy the ingredients.

Well, what would you know? While I was cutting the strawberries I realized that an odd shaped one ended up looking like lips when sliced.
Don't you agree? Maybe I'm just seeing things...

Either way, the strawberries AND this recipe were super yummy! I can't wait to make it for breakfast again this week.

Nutella French Toast (found on The Kitchen Life of a Navy Wife)
Ingredients
1 cup sliced strawberries
2 teaspoons sugar
juice of half a lemon
4 slices of bread (I used Italian)
about 1/2 cup Nutella
1 large egg
3/4 cup milk
2 tablespoons melted butter
1 teaspoon vanilla
1/4 teaspoon ground cinnamon
1/4 teaspoon salt
butter (for the pan)
powdered sugar for serving

Directions
1. Combine the strawberries, sugar and lemon juice in a bowl. Toss to coat and set aside to macerate at room temperature.
2. Spread desired amount of Nutella over 2 slices of bread. Top each with the remaining bread. Heat a large skillet over medium heat.
3. In a shallow dish or pie plate, whisk together the egg and milk. Whisk in the melted butter, vanilla, cinnamon and salt. Add 1 tablespoon of butter to the heated skillet and swirl to coat.
4. Dip each sandwich into the egg mixture, soaking for 30 to 40 seconds per side. Add the slices to the pan in a single layer, taking care not to crowd the skillet. Cook for 1-2 minutes, until light golden brown. Flip and continue cooking an additional 1-2 minutes. Add more butter as needed.
5. Transfer to a plate, dust with powdered sugar, then top with strawberries. Serve immediately.
Bake well and prosper!

Wednesday, March 14, 2012

Whiskey Brownies

Last weekend I made a quick trip down to Florida to celebrate my Grandfather's 95th birthday. Yes! 95! Isn't that amazing? Definitely reason to party.

I am his youngest grandchild and therefore the hippest (naturally.) So, I made him whisky brownies since I know he likes to sip whisky every Friday afternoon.
My Grandpa is a very cool kat and very special to me. Being the youngest grandkid, I didn't get to make as many memories with my grandparents as my older siblings did. But since my Grandpa will probably outlive us all, I've had tons of fun times with him. I especially love my memories of his old house being surrounded by orange trees and us picking some to make into orange juice for breakfast.

Speaking of breakfast, I totally had these brownies for breakfast. And dessert. And second helping of dessert. They are so good! Plus, these are a perfect idea for St. Patty's Day parties!
Whiskey Brownies (adapted from the NYTime's Supernatural Brownie recipe)
2 sticks (16 tablespoons) butter
8 ounces bittersweet chocolate
4 eggs
1/2 teaspoon salt
1 cup brown sugar
1 cup granulated sugar
2 teaspoons vanilla extract
1 and 1/2 cup flour
1 Tablespoon of whiskey for the batter
1/2 cup chopped walnuts or 3/4 cup whole walnuts, optional
2 tablespoons of whiskey for the topping

1. Butter a 13-by-9-inch baking pan and line with buttered parchment paper. (Erika's Extra: This recipe is so buttery I've never needed to use parchment paper.) Preheat oven to 350 degrees. In top of a double boiler set over barely simmering water, melt butter and chocolate together. Cool slightly. In a large bowl or mixer, whisk eggs. Whisk in salt, sugars and vanilla.

2. Whisk in chocolate mixture. Fold in flour just until combined. Pour in 1 Tablespoon of whiskey. If using chopped walnuts, stir them in. Pour batter into prepared pan. If using whole walnuts, arrange on top of batter.

3. Bake for 35 to 40 minutes or until shiny and beginning to crack on top. Remove from oven and pour 2 Tablespoons  of whiskey(more or less according to taste) over the top of the hot brownies. (This will create a fudgey topping.) Cool in pan on rack.
Bake well and prosper!

Wednesday, March 7, 2012

Lots of Chocolate Cherry Cookies

Cookies. Where would I be without cookies? The same place I'd be without chocolate. (It's a very scary place.)

I must admit that I love making cookies at the beginning of the week and having them as a snack for the rest of the week. (Or as long as they last. Sometimes only 2 days...I DO share you know!)
Not only do I love the taste of cookies, I also enjoy that they come in so many varieties. It would probably take two lifetimes to make all the cookie recipes in the world. Don't you think so? Well, if you would just like to make one recipe for now and want something a little different, try these yummy cookies with lovely dried cherries in them!
Lots of Chocolate Cherry Cookies (adapted from allrecipes.com)
Ingredients
1 cup all-purpose flour
1/4 cup unsweetened cocoa powder
1 teaspoon baking powder
1/4 teaspoon salt
1/2 cup unsalted butter, softened
1 cup white sugar
1 egg
1 teaspoon instant coffee granules (I left out this ingredient bc I don't like coffee)
1 teaspoon vanilla extract
1/4 cup miniature semisweet chocolate chips
1/4 cup white chocolate chips
1 cup dried cherries

Directions
Preheat an oven to 350 degrees F.
Line two large baking sheets with parchment paper. (I baked without parchment paper and I think that's why mine came out so crispy.)              
Combine flour, cocoa powder, baking powder, and salt in a bowl.               
Beat the butter and sugar together in a large bowl with an electric mixer on medium-high speed, until light and fluffy.               
Beat the egg, coffee granules, and vanilla into the butter and sugar mixture until blended.               
Change the speed to low and pour in the flour mixture. Beat until just combined.
Stir in semisweet mini chocolate chips, white chocolate chips, and dried cherries.               
Drop spoonfuls of the dough two inches apart onto the prepared baking sheets.             
Bake 10 to 12 minutes per batch in the preheated oven, until cookies are just becoming firm.               
Let cool on baking sheets for two minutes.              
Transfer cookies to a wire rack to cool completely.               
Bake well and prosper!

Friday, March 2, 2012

Baking Comic

It's been a while since I posted a cute/funny food comic. Off the Mark always has funny ones. Enjoy!
Off the Mark
Bake well and prosper!

Thursday, March 1, 2012

Cranberry Pistachio Biscotti

 
Even though I'm not a biscotti fan, I've been wanting to make some for a while. Especially a fruity and nutty version since it adds such a zing of color to the plain brown biscotti.

The main reason I don't like biscotti is the fact that they are so crunchy. Like, hurts your gums and the roof of your mouth crunchy.

But while I was making these, I was pleasantly surprised to find that the biscotti is quite soft and lovely before putting it back into the oven for the second bake. The second bake made them the hard version that I am familiar with. However, I must say that the flavor of these was really delightful! As for the crunchiness, I found mine to be slightly soft in the middle. Whew!

(Next time I make biscotti, I'm going to add it in the oven for only 5 minutes for the second baking part. Mark my words!)
Cranberry Pistachio Biscotti (modified from Bake for Happy Kids)

2 cups plain flour, sifted
1 1 /2 tsp baking powder, sifted
3/4 cup caster sugar
3 eggs, lightly beaten
2 tsp vanilla extract
1 tbsp finely grated orange rind
1 cup sweetened dried cranberries
1 cup shelled unsalted pistachios

Preheat oven to 320°F.

Place the flour, baking powder and sugar in a bowl and mix with a wooden spoon to combine.

Add the eggs, vanilla, orange rind, cranberries and pistachios and mix until a smooth dough forms. (Erika's Extra: I found that I needed to work the dough in the bowl with my hands to get it into a smooth dough.) Turn the dough out onto a well-floured surface and knead a couple of times until equal consistency. Divide the dough into 2 equal portions and roll each portion into an 8 inch long log. Flatten slightly and place on a lightly greased baking tray (lined with non stick baking paper if you prefer).

Bake for 30-35 min or until firm. Set aside to cool completely. Once cooled, use a serrated knife to cut the logs into 3mm-6mm thick slices and place the slices on baking trays (lined with non stick baking paper if you prefer). Bake for a further 8-10 min or until golden and crisp. Allow to cool on trays.
Bake well and prosper!